
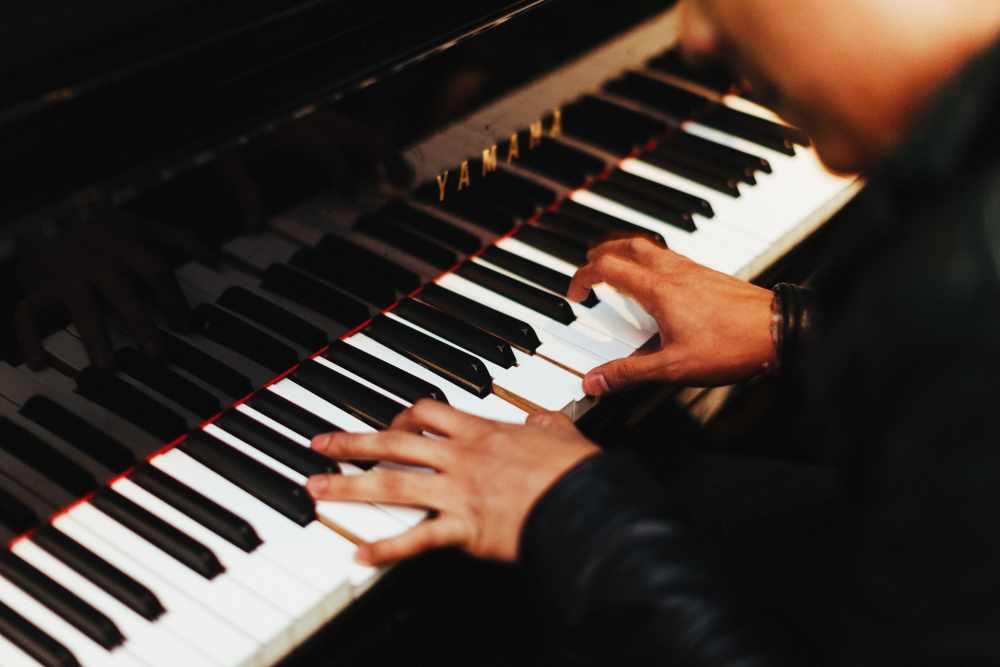
The glissando is another handy piano technique to have in your musical toolbox. Read on to find out how to incorporate it into your playing!
Look at any piece of sheet music, and chances are you’ll see Italian musical terms such as largo, allegro, or acapella. Even the piano itself is named after the Italian term for “soft-loud,” pianoforte. Among these terms is one you may be unfamiliar with: the glissando.
What is a Glissando?
Glissando means simply to glide or slide. Musically, it tells the player that they are supposed to move, or glide, from one note or pitch to another. It sounds quite simple – after all, when you play the piano, aren’t you already moving from one note to another? Well, it’s actually not as simple as it sounds. It’s a quick slide through a series of consecutive tones in a scale-like pattern.
There are different types of glissando. One, called continuous glissando or portamento, is used in stringed instruments such as the violin, viola, and guitar. The one that pertains to the piano is called a discrete glissando, because each individual note is audible.
Even if you haven’t heard of the term, you probably have heard a glissando used in music. For example, Jerry Lee Lewis’s song “Great Balls of Fire” is a great example of dragging the piano keys, or playing a glissando. We’ll check out some other popular uses of the technique later on!
Playing Glissandos
How do you know when to play a glissando? In your score, it is indicated by a diagonal straight or wavy line that connects the first and last notes of the glissando. Often the word “gliss” is noted. Pay attention to the stopping and starting notes — these are often more important than the glissando itself!
How do you practice glissandos? Regardless of which way you are going, you need to locate your starting note.
If you’re moving from a lower note to a higher one, do the following:
- Place one finger on the beginning key (typically your middle finger), and hold the other fingers straight and together.
- Let your thumb relax while your four fingers remain stiff. Touch the keys only with your fingernails.
- Play each note (white keys) in the glissando, ending on the note as written in your score.
If you are moving from a higher note to a lower one, here is what you do:
- Place your thumb or the back of your fingernails on the starting key.
- Drag your thumb down the keys, being sure to hit all of the white keys.
- End on the note as written in your score.
To play a glissando on the black keys, here is what you do:
- Stiffen your fingers on your hand so that you fingers are curved with your fingernails pointing upward.
- Using the first line from your palm to your fingers, press each black key in the glissando.
- End on the note as written in your score.
While you can try glissandos on black keys using your thumb, you may encounter difficulties due to the spacing of the black keys. Also, due to the smaller keys and irregular spacing, this one tends to be harder, but fortunately, not as common. Gliding across the black keys also has a different sound, thanks to the pentatonic scale effect!
Popular Glissando Examples
The glissando isn’t just a powerful technique used in classical music — it’s also made its way into popular tunes. See if you can pick out the glissandos used in these pop hits!
- “I Want You Back” – Jackson 5
- “Dancing Queen” – ABBA
- “Space Oddity” – David Bowie
You may also remember the glissando used right at the beginning of the classic Looney Tunes cartoon episodes!
Proper Practicing
When you’re learning how to play glissandos or any other piano technique, it’s important to approach the technique in the right way. While YouTube lesson videos and instructional guides (such as this one) are helpful, there is no replacement for a private piano instructor. Follow the guidance of your teacher, and in the meanwhile, check out some of our advice below!
One of the problems with glissandos is that when not done properly, your fingers can hurt. It’s a common problem, but there are ways to minimize or prevent pain. Here are a few tips:
- Keep your fingers at a 45-degree angle when playing. This is an optimal playing position for your fingers.
- Don’t press too hard on the keys – you want your fingernails to touch the keys but not much more. Pressing too hard can hurt your fingernails.
- Start off playing very slowly until you are comfortable with a certain glissando and slowly work your way to playing at the required speed.
With practice, you can perfect your glissandos to add awesome emotion and flair to your music. Your piano teacher can give you feedback on your glissando style, so that you can minimize pain and perfect the sound. Whether in person or online, finding the perfect piano teacher has never been easier. Happy practicing!
From rock ’n’ roll to classical, the glissando is used in countless piano tunes. Do you have a favorite example of the glissando in action? Let us know in the comments below!


Shanika