

 Do you feel like your fingers get locked in a box on the neck when you want to improvise on the guitar? This simple tip from guitar teacher Samuel B. will help you blow the lid off that box and start building better guitar solos…
At the age of fourteen, I could readily cite figures such as Eric Clapton, Stevie Ray Vaughan, and Jimi Hendrix as musical role models. I was not a child prodigy, but I maintained a pretty infectious enthusiasm for my instrument (and obviously still do).
A year prior, I’d been introduced to the blues scale by my eighth-grade band director and had used it in multiple rehearsal-room guitar solos. I now introduce it to my students once they’re ready to move up to the middle of the neck. There are two versions of it – the “clean” version (involving no more than two notes per string):
E|—O—|———|———|—-O—|
B|—O—|———|———|—-O—|
G|—O—|———|—O—-|———|
D|—O—|———|—O—-|———|
A|—O—|———|—O—-|———|
E|—O—|———|———|—-O—|
and the “dirty” version (which is a little busier – see the two added notes):
E|—O—|———|———|—-O—|
B|—O—|———|———|—-O—|
G|—O—|———|—O—-|—-O—|
D|—O—|———|—O—-|———|
A|—O—|—O—-|—O—-|———|
E|—O—|———|———|—-O—|
These are both movable scales, which means you can play this shape up and down the neck starting on any fret.
I will instruct you to play both versions backwards and forwards and (later) to experiment with them while I accompany you with a simple chord progression. You can also do this on your own with a recording or a looping pedal. After a while, you may find yourself unconsciously imitating patterns played by your own role models.
Naturally you’ll want to branch out. Although enharmonic notes higher up the neck will likely prove seductive (and, yes, I play a small assortment of them in my guitar solos), I’ve found it easier to play a parallel scale lower on the neck than the position where you have been playing the standard blues one:
E|——–|—-X—|——–|—-O—|——–|———|—-O—|
B|——–|—-X—|——–|—-O—|——–|———|—-O—|
G|—X—|———|——–|—-O—|——–|—-O—|—-O—|
D|—X—|———|——–|—-O—|——–|—-O—|———|
A|——–|—-X—|——–|—-O—|—O—|—-O—|———|
E|——–|—-X—|——–|—-O—|——–|———|—-O—|
These added notes will make for a very different exercise for your left hand than standard version. For one thing, you’ll be using your index finger one-third as often as the bulk of movement will now be concentrated in your middle and pinkie fingers. Approach this scale delicately as it is more difficult to play than its neighboring version. After all, your index finger (thumb aside) is your strongest one.
Also, don’t focus on licks so much as fluidity. Take your time. Play this new combination backwards and forwards at whatever speed feels right to you. Once it has become familiar territory, you’ll be able to shift easily back-and-forth between both the lower scale and the higher creating twice as many possibilities for ways in which you’ll be able to express yourself musically.
 Samuel B. teaches beginner guitar lessons in Austin, TX. He teaches lessons face-to-face without sheet music, which is his adaptation of Japanese instruction (involving a call-and-response method). Learn more about Samuel here!

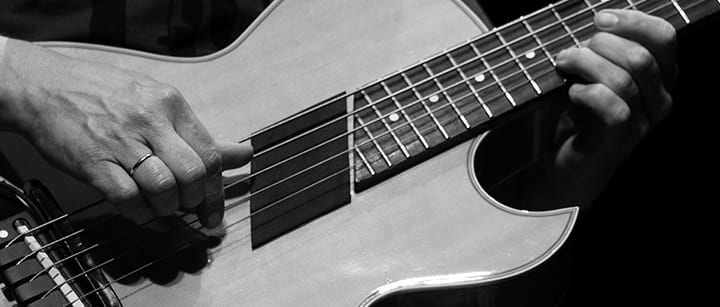
Photo by jikatu

Suzy S.