
When it comes to sewing, if you’ve only familiarized yourself with the basic running stitch, then it’s time to broaden your horizons. There are many different types of sewing stitches that allow you to achieve certain goals. For example, if you want to sew an eyelet, you’ll want to master the blanket stitch, but if you’re looking to add a clean finish to a raw edge, go for a zigzag stitch using a sewing machine.
In our hand sewing and sewing machine stitch guide, we’ll review the many different sewing stitches and even discuss seam finishes. Follow our tips and tricks, and if you’re looking for even more information, check out these helpful sewing resources, too.

Tools of the Trade
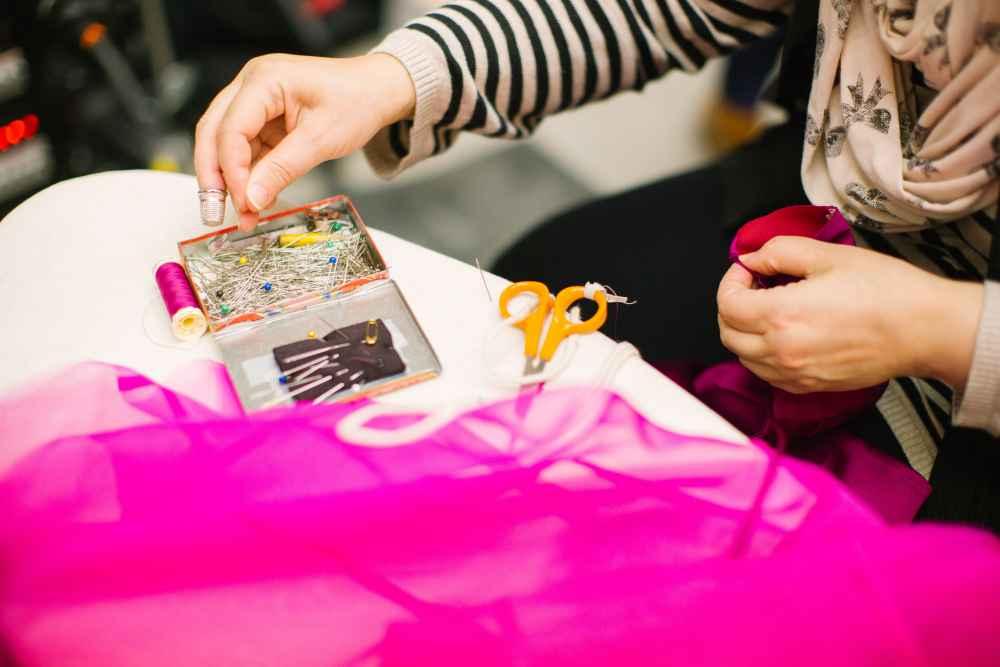
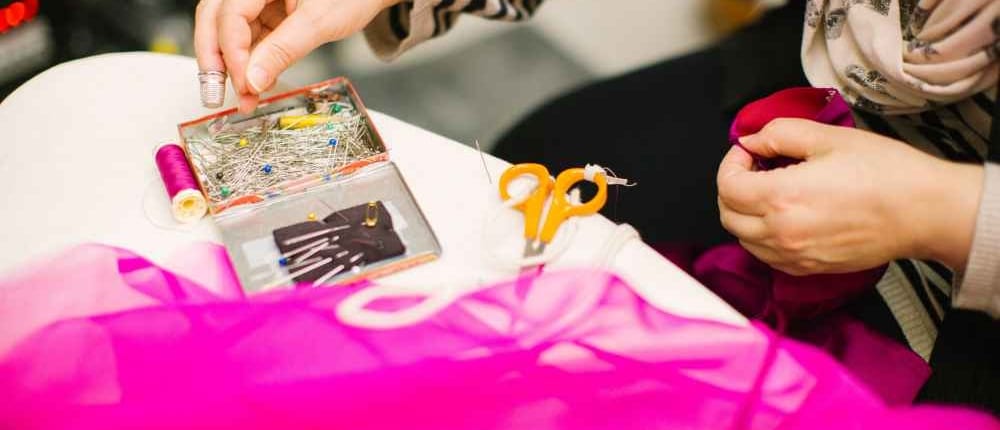
Before delving into the various types of sewing stitches, you’ll need to stock up on some sewing tools. Although going the cheaper route may be tempting, we recommend investing in high-quality tools that will last. Begin by purchasing these sewing supplies:
- Needles
- Thread
- Sewing scissors
- Small ruler
- Tailor’s chalk or a marking pencil
- Straight pins
- Narrow and wide bias tape
- Hem tape
- Stretch lace
Also, if this is your first time dabbling in the world of sewing, you may want to brush up on some sewing terms and vocabulary. For instance, before you can excel at basic sewing stitches, you’ll need to know the difference between a sem and a hem.
The Various Types of Hand Stitching
Of course, knowing some basic sewing stitches by hand comes in handy when you don’t have access to a sewing machine, but that’s not the only reason you might want to turn to these stitches. Many sewers prefer basic sewing stitches by hand when they’re dealing with delicate fabrics or looking for more control. These stitches to sew by hand also let you create flawless corners and more intricate details. Getting a handle on these different sewing stitches on clothes can make a world of difference when it comes to your sewing projects.
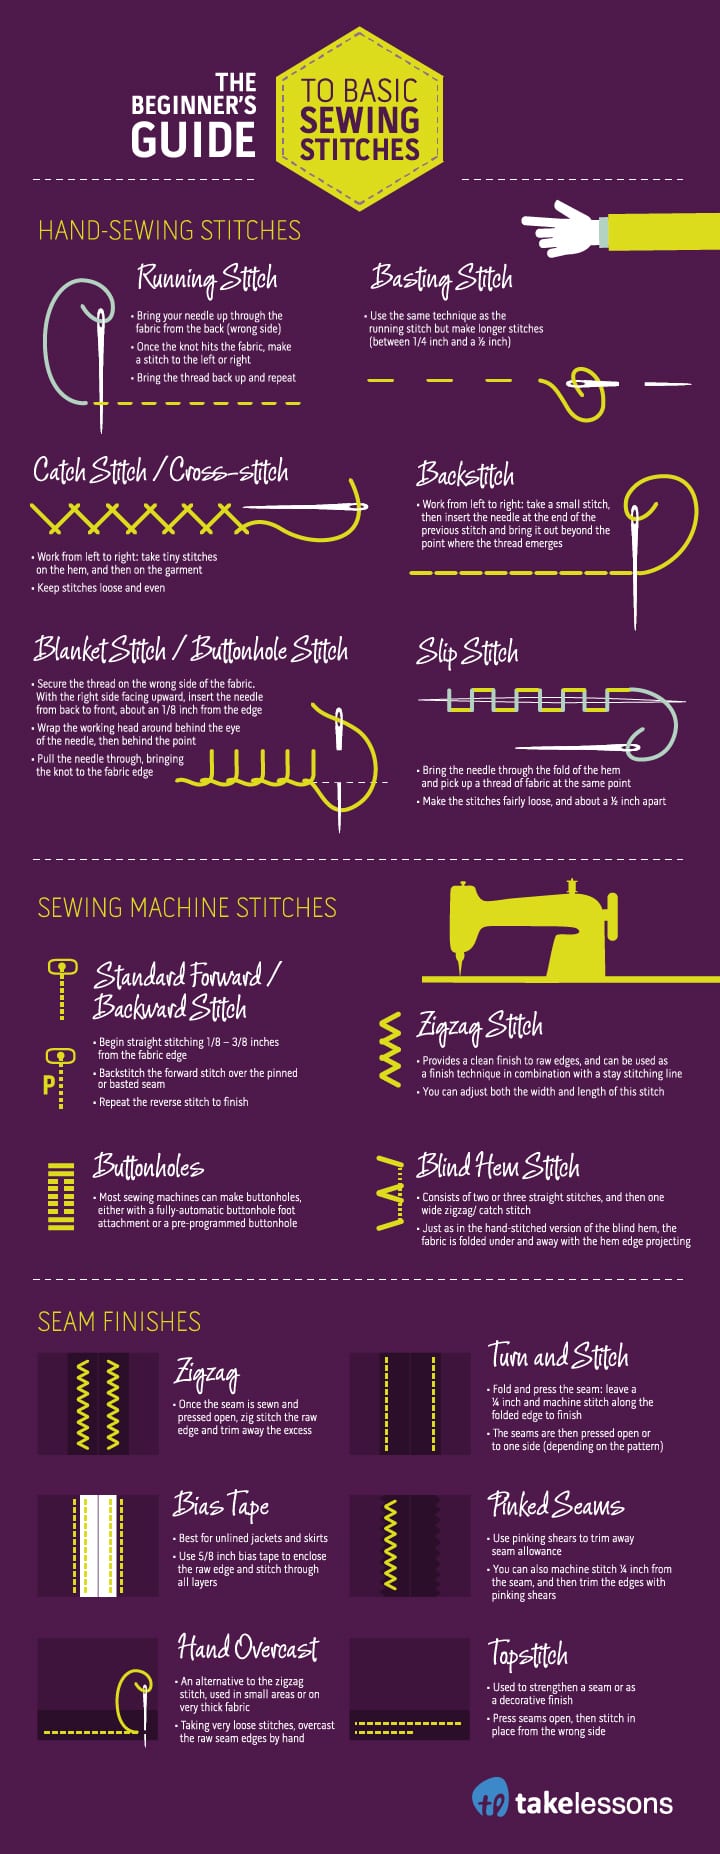
Running Stitch
The running stitch is one of the most basic types of hand stitches, and it has many variations. It’s used for gathering, mending, and tucking. Depending on its use, you can either knot your thread or take a couple of back stitches to lock it into place. In its longer form, it becomes a basting stitch.
Bring your needle through the fabric from the back (wrong side). Once the knot hits the fabric, make a stitch to the left or right. Bring the thread back up and repeat.
Basting Stitch
Use the same technique as the running stitch, but make longer stitches (between 1/4 inch and a 1/2 inch).
Today, we tend to pin baste more than hand baste our garments and projects, but hand basting can still be useful, especially with both lightweight (silk and chiffon) and heavyweight (leather and Melton) wools.
Backstitch
Before sewing machines, all clothes were built by layer upon layer of backstitches. This is one of the most practical hand stitch to know.
Working from left to right, take a small stitch, then insert the needle at the end of the previous stitch, bringing it out beyond the point where the thread emerges. Continue, always inserting the needle in the end of the previous stitch.
Catch stitch (Cross-Stitch)
You can use this stitch to to finish hems with fabric that doesn’t fray, and to tack facing invisibly.
Working from left to right, take tiny stitches on the hem, and then on the garment. Keep the stitches loose and even. They will appear as crosses on the wrong side and small stitches on the right.
Slip Stitch
This stitch is my go-to stitch when it comes to hems and other finishes. It’s tidy and almost invisible, when it’s done right, and with care on both sides. Once you get the hang of it, this stitch will be one of your favorites, too.
Bring the needle through the fold of the hem and pick up a thread of fabric at the same point. Make the stitches about a 1/2 inch apart and fairly loose.
Blanket Stitch (Buttonhole Stitch)
If you want to sew eyelets or buttonholes by hand, learn the buttonhole stitch.
Secure the thread on the wrong side of the fabric, then with the right side facing upward, insert the needle from back to front through the fabric 1/8 inch from the edge. Wrap the working head around behind the eye end of the needle, then behind the point. Pull the needle through, bringing the knot to the fabric edge. Continue, making closely spaced stitches and knot.
The eyelet version is worked in a circle, with the wrapped edge to the inside; the blanket stitch variation has at least a 1/4 inch spacing between stitches.
Sewing Machine Stitches
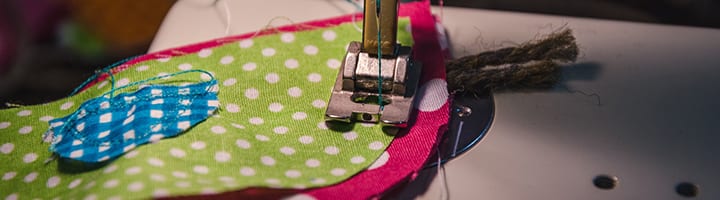
Once you have an understanding of basic hand sewing stitches, it’s a good idea to familiarize yourself with some of the most common sewing machine stitches. After all, using a sewing machine allows you to make stronger and more durable stitches. It’s also easier to use a sewing machine when you’re working with heavier fabrics. Follow our sewing techniques machine stitch guide below for help mastering these stitches, and you’ll be all set to take on some easy sewing projects, such as headbands and drawstring bags.
Standard Forward / Backward Stitching
Begin straight stitching 1/8-3/8 inch from the fabric edge. Backstitch the forward stitch over the pinned or basted seam. Repeat the reverse stitch to finish.
You can use the straight stitch for seams, under stitching, stay stitching, and simple top stitching.
ZigZag Stitch
The zigzag stitch provides a clean finish to raw edges, and you can use it as a finish technique in combination with a stay stitching line. You can adjust both the width and length of this stitch to fit the needs of your project. For example, use this stitch if you’re hemming jeans with a sewing machine.
Buttonholes
The good news is that most sewing machines can make buttonholes, either with a fully-automatic buttonhole foot attachment, or in the case of some mechanical and most computerized machines, a pre-programmed buttonhole.
Check your machine’s manual for these details.
Blind Hem Stitch
This sewing machine stitch consists of two or three straight stitches, and then one wide zigzag/catch stitch. Just as in the hand-stitched version of the blind hem, the fabric is folded under and away with the hem edge just projecting.
Seam Finishes
Now that you’ve got the hang of the different sewing stitches, it’s on to seam finishes. You will use seam finishes to prevent fraying and ensure that the seam will survive wear and tear. Before choosing a specific seam finish, consider the type of fabric, the strength and type of seam you want, and the way you want your seam to look.
Related: Learn how to hem jeans by hand or machine
Zigzag
You can use a zigzag finish on most types of fabric. Once the seam is sewn and pressed open, zig stitch the raw edge and and trim away the excess. The width and length of this can vary depending on the fabric weight. There is a variation where the seam-edges are trimmed to half their depth, zigzagged together, and pressed to one side.
Turn and Stitch
This is mainly used on crisp cottons. Fold and press the seam, allowing a 1/4 inch, and machine stitch along the folded edge to finish. The seams are then pressed open, or to one side, depending on the pattern’s directions.
This creates a tidy finish and wears quite well.
Bias Tape
This is mostly used on unlined jackets and skirts.
Using purchased 5/8 inch bias tape, enclose the raw edge with the tape and stitch through all layers. Commercial bias tape
is slightly wider on one side; that side should be on the underneath the fabric.
You can also make your own bias tape in contrasting or matching fabric.
Pinked Seams
Pinked seams are the simplest of seam finishes. Using pinking shears, trim away as little of the seam allowance as possible. This version is best used on wools and polyester fleece and is not very hard wearing.
A better version of this finish is to machine stitch 1/4 inch from the seam, then trim the edges with pinking shears.
Hand Overcast
The hand overcast seam finish is used as an alternative to the zigzag stitch in small areas or on very thick
fabrics.
Taking very loose stitches, overcast the raw seam edges by hand.
Top Stitch
The top stitch creates a hard hem line, and can be used to strengthen a seam or as a decorative finish.
Press the seams opens and then stitch in place from the wrong side. The seam are often pinked beforehand, sometimes with a contrasting bobbin thread.
Share this Image On Your Site
Learning the Different Kinds of Stitches
Although we covered quite a few types of stitches, this is only the beginning. As you become more proficient with hand sewing stitches, you will discover even more techniques for you to master.
If you’re looking to dive deeper into the many different types of sewing stitches, turn to our sewing lessons to get more in-depth insight on how to stitch. With the help of a certified instructor, you’ll be sewing up a storm before you know it.
Do you have questions or feedback about these different kinds of stitches? Let us know in the comments below.
 Post Author: Cathy G.
Cathy teaches sewing, and designs clothing and knitwear in Astoria, NY. An all-around crafty gal, she can drape and draft patterns, hand spin and weave, embroider, make lace, and style wigs. Cathy graduated with a degree in American Studies from Mount Holyoke College. Learn more about Cathy here!


Cathy G.