
The energy that my first time sewing students bring to the very first class is wonderful. They are so excited about the creative possibilities that learning to sew will bring them. Often this excitement is tempered by the fear of using a sewing machine. I start by encouraging them to do some easy sewing projects for children, so they can get comfortable with using a sewing machine. It is also a great way to learn some very basic sewing skills. The following projects are quite simple, quick and use little fabric.

Expandable Headband
Our first project is an expandable headband. A headband is a very versatile hair accessory and therefore suitable sewing project for children. It requires small amounts of fabric so you can use scrap fabric left over from another sewing project or repurpose fabric from used garment.
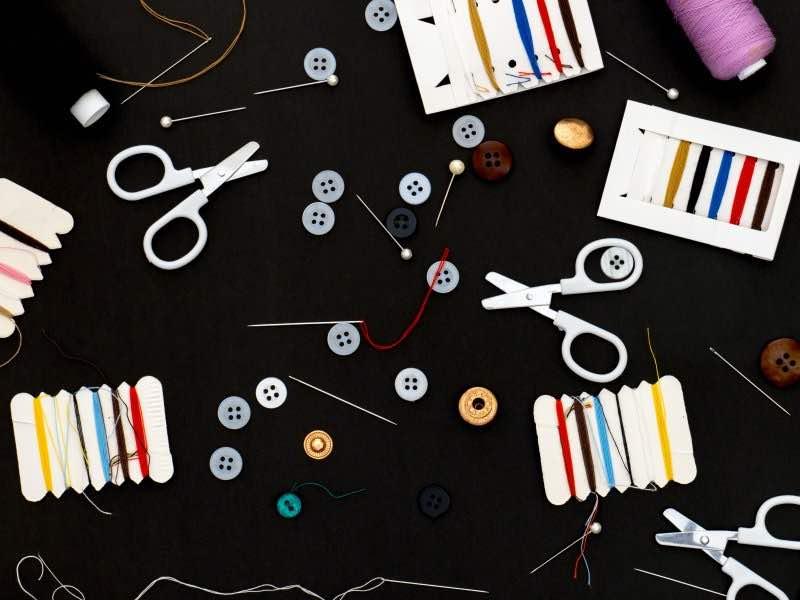
What you will need:
Scissors
Pins
Safety pin
Needle and Thread (sewing machine)
Fabric 1st piece 10.5 inches by 3.25 inches and the 2nd piece 18 inches by 6 inches.
1 width inch Elastic 7.5 inches
- Fold the 1st fabric (10.5 X 3.25 inches) in half lengthwise right sides together and sew ½ inch from the raw edge. Then trim the seam allowance and turn inside out.
- Using a safety pin insert the elastic in one end to the other, so it is encased in the fabric. Then pin at each end then sew ½ inch in from both ends. (The fabric will be slightly ruffled because it is longer that the elastic by design).
- For the 2nd fabric (18 X 6 inches) fold over ½ inch on each end and press with an iron. Then fold in half lengthwise right sides together and sew ½ inch from the folded ends. Trim seam allowance and turn inside out.
- Insert the elasticated fabric tube into the large fabric tube. Fold the ends of the larger tube over the elasticated part on each end so it fits perfectly and pin. Then sew ½ inch in to hold the folds in place.
Have fun with this project by using a contrasting pattern or color for each fabric piece.
Scrunchie
There is no cuter hair accessory than a brightly colored scrunchie. You can never have too many of them. When you sew as much as I do, you will have bags and bags of left-over fabric. Making a scrunchie is a great way to make use of this fabric. This is another perfect sewing project for children.
What you will need:
Scissors
Pins
Safety pin
Needle and Thread (sewing machine)
Fabric cut 18 inches by 3.5 inches
¼ inch Elastic cut 8 inches
- Fold the fabric right sides together lengthwise and stitch ½ inch from the raw edge all the way across leaving a 1-inch gap close to one end.
- Open and match the seams on each end and sew together to make an enclosed tube using a needle and thread. (The opening will be too tight to sew with a machine).
- Turn the right side out by reaching through the 1-inch gap you left earlier.
- Using a safety pin insert the cut elastic through the tube until the ends meet and overlap. Stitch both ends together.
- Close the gap using a hemming stitch.
You can vary the thickness of the scrunchie by increasing or reducing the width of the fabric.
Small Drawstring Bag
Drawstring bags have some many uses. I use mine to carry my drawing pencils or as a little toilet bag when I travel. I have even used them for Christmas and Birthday presents. I have found that people love to receive gifts inside bags they can reuse for later. Best of all they are so easy to make and you can use any fabric you want. You can scale the fabric measurements below to increase or reduce the size of the drawstring bag.
What you will need:
Scissors
Pins
Safety pin
Needle and Thread (sewing machine)
Fabric – Cut one piece of fabric 23 inches by 7 inches
Ribbon ¼ inch wide – cut 2 pieces 8 inches each
- Fold over ¼ inch and stitch to neaten the edge on both short ends of the fabric.
- With the right sides together sew 3.5 inches from the neatened edge and leave a ½ inch gap. Then continue to sew all the way to the bottom.
- Clip off the corners and press the seam allowances open.
- Fold over the top edge by 2 inches over and sew around the neatened.
- Use a safety pin to thread the ribbon through the gap all the way round on and back out the same hole. Then knot the ribbon ends together. Repeat this on the other side.
I hope that you enjoy these simple projects which make sewing for children fun and easy. Experiment with whatever fabric you have available. Remember you can make multiples of each item for yourself and to give as gifts to your family and friends.
If you’re looking for more fun ways to learn to sew, find a sewing teacher at TakeLessons to take your projects to the next level.

Annelouise Bonsalles