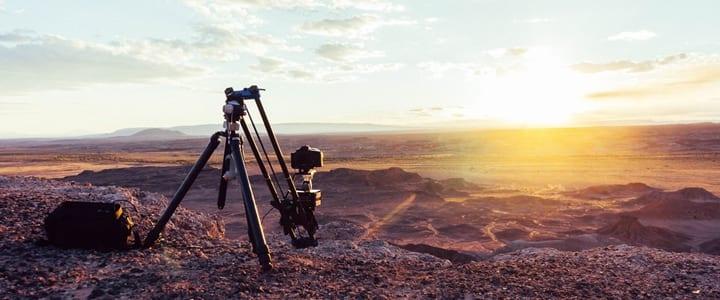
Once you’ve done your time-lapse photography, how should you edit it all together? Here, Pasadena, CA teacher Nathan H. shares his recommendations, plus the pros and cons of using Photoshop and Lightroom…
So you just finished your amazing time-lapse of the sky. You’ve composed your shot. You’ve made sure nothing went wrong. You’ve waited an hour for your camera to take 600 images. It was a long, painful process.
But it’s over, and now it’s time to head to some post-production software to raise the quality of your photos from great to amazing.
But what software should you choose?
There are a lot of options when it comes to creating your own time-lapse videos. You could jump directly into Adobe Premiere Pro or Final Cut Pro, but these are merely non-linear editors that will only take the images and export them to a QuickTime video.
Professionals and advanced photographers will want to edit their images so that the colors stand out in a unique and visually compelling way. The best options for a color correction or a color grade can be found in the two Adobe photo editing tools, Photoshop and Lightroom. Each of these software titles has its own list of pros and cons. Let’s look at each of them to better understand which option you should choose for your next time-lapse video and why you should use one application over the other.
-
Photoshop’s Adobe Camera Raw vs. Lightroom 5’s Adjustment Brush Tool
The main difference between using Photoshop and Lightroom for time-lapse videos is also, perhaps not surprisingly, the same difference between the software’s main functions themselves.
At the core of Lightroom is the same engine found in Photoshop, that is, Adobe Camera Raw. Lightroom 5, however, presents this mode of editing with a seamless interface that allows for far more specific adjustments. With the adjustment brush, you can hone in on a specific area of a photo and process the RAW file meticulously. This allows for a stronger edit of your time-lapse photography.
For example, while Photoshop can raise the exposure of the entire photograph in Adobe Camera Raw, Lightroom would allow you to raise the exposure around one person’s face with the adjustment brush. It’s like having a real life, digital dark room for your photos. And the tools here are incredibly powerful.
-
Export Times
One of the benefits of utilizing Photoshop for a time-lapse video is speed. While Lightroom allows for more in-depth edits, its ability to export the final video takes exponentially longer. If you’re not worried about time, than this shouldn’t be a concern at all.
Something to consider when working in Photoshop though is that you’re going to need to batch convert your RAW files to TIF or JPEG files to export the video. RAW files don’t (currently) play very nice with video codecs. Depending on how many photos you shot for your final time-lapse, this can take a considerable amount of time.
-
Native Software
Photoshop can natively create time-lapses. This means that the software already comes with the ability to create a time-lapse video without any additional plug-ins or patches. You simply have to select the preset in the dropdown menu for Film and Video when creating your new project.
In Lightroom 5, on the other hand, you need to download a plug-in and then drop that plug-in into your Lightroom Preferences folder.
It’s not particularly difficult to do, but it does take some additional time and software knowledge. A great tutorial for completing this process, as well as downloading the necessary files required to do time-lapses in Lightroom 5, can be found here.
-
Photoshop Actions vs. Lightroom 5 Presets
Lightroom has presets for color corrections and color grades, and makes it seamless to incorporate these into your images. Photoshop has a similar way of completing this called Actions. But Photoshop’s Actions don’t work as easily as a Preset does.
While Actions save a sequence of steps for how an image should be processed, a Lightroom Preset records every adjustment slider and saves it as its own configuration. Presets reduce the time for all of your photos in your time-lapse to synchronize together in Lightroom 5.
Conclusion
Both Lightroom and Photoshop are incredibly versatile tools for developing time-lapse photography and videos. As you further experiment with the two applications, you’ll learn which program best suits your needs, and begin to create time-lapses videos that will stand out and impress.
Nathan H. teaches Adobe Creative Suite, Adobe Lightroom, Adobe Photoshop, and photography in Pasadena, CA. He received his AOS Degree in Film and Television Performance from The New York Conservatory for Dramatic Arts, as well as his BFA in Motion Picture Production from Wright State University. Learn more about Nathan here!
 Photo by CEBImagery
Suzy S.


