

The art of ballet is undeniably beautiful, graceful, and stunning. But that’s not to say it doesn’t come with its fair share of challenges. After all, there are many different thought processes, techniques, and variations associated with this dance form and it can takes years to master it. Not to mention, there’s no single “right” way to learn ballet for beginners.
With that said, many dancers will agree that it’s helpful to approach the barre with a basic understanding of its style and positions. No matter what genre your dance instructor teaches, the following fundamentals will always be a part of the curriculum. From Italy’s Cecchetti Method to the cross-genre techniques of contemporary American ballet, these beginner ballet positions keep dancers of every level in perfect form.
Ready to step up to the barre and learn some ballet? Our dance guide covers some of the most basic ballet moves every aspiring ballet dancer will need to know. From the five basic ballet positions to the port de bras, follow along to learn all the ins and outs of this elegant genre of dance.
Port de Bras Basics
For those just starting out, you might be hyper-focused on your footwork, perhaps forgetting about your arms. But the truth is, long before you learn complicated footwork or graduate to pointe shoes, you need to learn how to coordinate your arms and legs. In ballet (as in French), port de bras refers to the positions and movements of the arms. Ballet techniques focus on engaging the entire body, so for every position of the feet or legs, there’s a complementary port de bras that will allow your upper body to complete the full effect.
-
En avant (forward) – hold your arms out in front of your torso, rounding them slightly
-
En haut (high up) – now hold them above your head, keeping your shoulders flat
-
En bas (below) – bring them down to your sides, with your palms pointed inward toward your legs
Assume one position, then move one or both of your arms into the next. Did your shoulders move too? If you only moved one arm, did the other arm stay in the same place? Next, you’ll learn a transition technique that keeps your movements fluid and body parts in all the right places.
The Gateway
Now it’s time to work on the gateway position. As dancers move from one position to the next, their arms often stop in the gateway position along the way. This is fundamental in ballet for beginners, and it doesn’t hurt to practice at home first, because the goal is to train your arms until it comes naturally to you.
- Hold your arms in front of your body, rounding them as though you’re hugging a tree
- Lower your arms (but not your shoulders) very slightly; your elbows should no longer be even with your shoulders, but slightly below them
- Allow your hands to continue the curve of each arm, cupping them slightly with the palms facing you
- Line up your fingertips with the bottom of your breastbone (slightly higher than the bottom of your ribs)
- Keep your hands slightly apart; they must be free to move independently
The gateway position might look basic at first glance, but it’s incredibly important to achieve a slight downward slope with your arms, and to keep your shoulders turned out. At first, you’ll be tempted to move your shoulders closer together or pull them forward. Instead, keep them in the same position, no matter where your arms go.
The Five Positions
Almost all ballet for beginners starts with the five fundamental positions: first, second, third, fourth, and fifth. While children usually learn the foot placement of each position first, sometimes it’s helpful to look at the whole picture from the very beginning. Each position also includes the legs, arms, and hands. To begin, take a look at the image below, a great resource from the Ballet Dance Experts website.
First position – Form a “V” with your feet, placing the heels together and the toes apart. Ballet instructors will likely tell beginners making this ballet position to keep their heels touching, but more advanced dancers may maintain up to two inches between their heels. Now, turn each foot out as far as you can, then lower your arms until your fingers almost touch your thighs, forming parentheses around your torso. Unless you’re forming a plié while in this position, keep your legs straight.
Second position – For this ballet pose, spread your feet slightly to the left and right, adding space between the heels, keeping your feet and legs facing outward. Your feet should be about hip-distance apart—if your feet are too close together, they may look like first position; if they’re too far apart the position won’t be useful. Hold your arms à la seconde by raising them at your sides until they almost form a “T”.
Third position – Many beginners will learn this basic ballet position. However, you likely won’t see it performed among more advanced dancers because it can be confused with a poorly executed fourth or fifth position. To do this pose, starting in first position, slide your right foot until its heel touches the inside of your left foot, roughly halfway between the heel and toe of that foot. Your feet and legs should be turned equally outward and your legs will remain straight. With your left arm in first position, lift your right arm slightly until your fingertips are even with your hips.
Fourth position – If you want to master pirouettes, it’s important to nail this basic ballet move. Take one step forward with your right foot, creating about a foot’s distance between both feet, but not too wide or too narrow. Align your heels with your opposing toes. As with the other positions, you’ll want to keep your legs straight with your knees and feet facing outward. Then lift your right arm the rest of the way, into second position.
Fifth position – This ballet position can get tricky and is often considered the most difficult in this set. From fourth position, turn out your right foot and place your left foot completely behind it, turning the opposite way, until your toes and heels touch. Remember to keep your legs straight and toes properly turned outward. Lift your arms en haut, leaving several inches between the hand above your head. You’ll use this position to eventually transition into turns and jumps.
The corresponding arm positions will vary slightly, according to the ballet school you choose. For example, first position in Russian ballet calls for the gateway pose, and so does the Cecchetti version of fifth positionen avant. However, practicing these now will improve your coordination and train you to think of your body as one complete instrument, rather than separate parts. This fluid synchronicity is what makes ballet choreography so graceful and powerful.
Obviously, you won’t master these ballet basics overnight. Just like learning any kind of skill, you’ll need to dedicate plenty of time to practice these positions. But remember, don’t rush these ballet moves. Go slowly, and be deliberate and exact about your hand positions and foot placements—you don’t want to pick up any sloppy habits! The more you practice, the more second nature these moves will become. And as you get the hang of these foundational ballet poses, you can move on to more advanced and elaborate moves!
Perhaps you’ve always dreamed of performing in the “Nutcracker” ballet. Or maybe you’re simply interested in taking on a new hobby. While our guide is a great starting place for learning some basic ballet positions, nothing beats working one-on-one with a private dance instructor. When you sign up for a spot in private dance lessons, your certified instructor will help you grow your skills and accomplish all your dance goals. Join today to see what a difference private lessons can make!

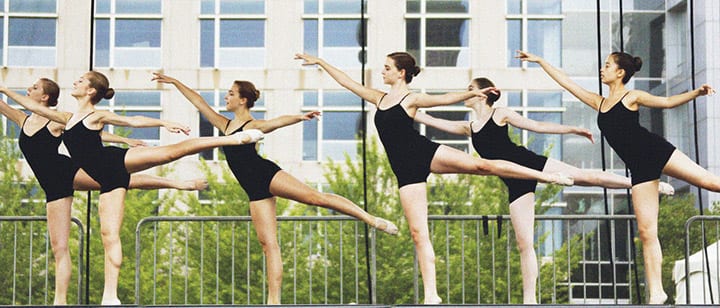
Photo by vharjadi

Megan L.