

One of the most challenging parts of learning how to play the violin is learning how to hold a bow properly, as it can feel very unnatural for beginner and intermediate students.
While it can be frustrating, learning how to hold a violin bow is extremely important–especially for those who are just starting violin lessons. With proper bow technique, you can essentially produce whatever tones, strokes, and dynamics you want.
However, if you have trouble controlling the bow, you’ll end up making a squeaky or unsavory sound. The foundation of a great bow technique is your grip. The correct bow grip will give your right hand and arm flexibility, power, and control, all while eliminating tension.
How to Hold a Violin Bow: Step by Step Instructions for Beginners
So what’s the secret to gaining the proper bow grip? Here we’ll share a video tutorial, followed by a step-by-step guide on how to hold your violin bow the right way. Be sure to read through all the steps to avoid injury and ensure you’re using the proper technique.
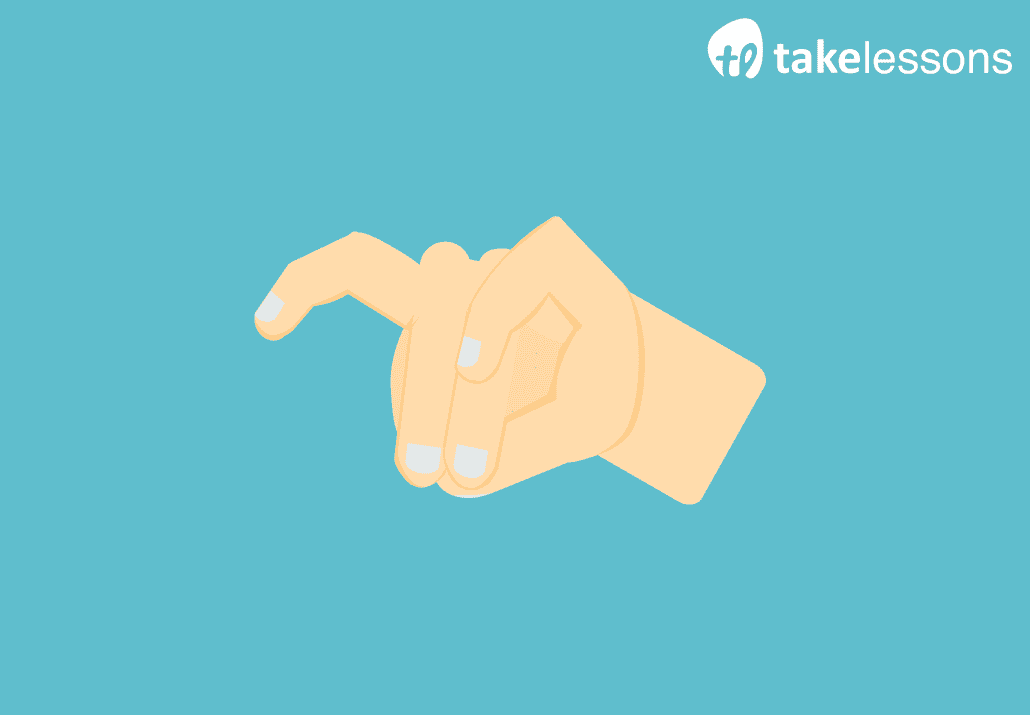
Step One: Make a Bunny With Your Right Hand
To get an idea of how to hold a violin bow, practice making a bunny with your right hand.
- Start by making the shape of the letter C, with your fingers and thumb curved.
- Then, touch your thumb to your middle finger and ring finger to create the chin and nose of the bunny.
- Next, raise your pointer finger and pinky (keep them curved) to create the bunny ears.
This is the basic shape of the bow grip. Practice making this hand formation until it becomes second nature.
Step Two: Place Your Thumb
When learning to properly place your right hand, hold the bow stick with your left hand. Be careful to not touch the bow hair with your fingers.
First, place your thumb on the underside of the bow stick, next to where the frog ends. Usually, there will be a small space between the frog and the leather or wire finger grip. That’s the spot where you want to place your thumb.

Step Three: Place Your Middle Finger
Next, the middle finger is placed opposite the thumb on the bow stick, with the ring finger placed right next to it.
Let your middle and ring finger relax so that they curve over the top of the bow and rest on the frog. The placement should feel similar to when you made the bunny.

Step Four: Place Your Pinky Finger
Then, place the tip of your pinky on top of the bow stick, slightly away from the ring finger. It’s very important that the pinky is curved so that it points down onto the top of the bow stick.
Otherwise, if the pinky is held straight, you’ll lose a lot of control of the bow.

Step Five: Place Your Pointer Finger
Finally, place your pointer finger on the finger grip, contacting the bow close to the middle knuckle. Keep the pointer finger curved and pointing slightly back toward the other fingers on the bow.
If all your fingers are placed properly, you should be able to press down through the tip of your pinky and make the bow go up. This hand position may feel unnatural to you at first, but over time it will become automatic.

Pro Tip: Strengthen Your Bowing Hand with these Exercises
When you’re first learning how to hold a violin bow, your wrist and fingers might become sore or tired, as you’re not used to using these particular muscles.
Implement the following exercises into your existing practice routine to help strengthen your bow hand and improve your overall violin playing.
Repetition
Repeating a certain motor task helps with muscle memory. Try making 10 bow grips in a row, going through all the steps at once. By the fifth or sixth repetition, chances are you will no longer need the pictures or explanation to guide you.
Crawling
Holding the violin bow vertically in your right hand, start to crawl or inch your fingers up to the tip of the bow and back down without the help of your left hand. This exercise will help strengthen and improve flexibility in your fingers.
Looking for more ways to practice your bow hold? Here are 10 sure-fire ways to boost your bow hold!
Having a good bow grip is a necessary step toward becoming a better violinist. If you’re still struggling, try some free violin classes at TakeLessons Live, or work with a private violin teacher until you get it right.

Suzy S.