
 Learning classical guitar requires a high level of coordination in both hands. Polish your right hand technique with these tips from guitar teacher Thomas C.…
Many classical guitarists run into issues when developing with right hand technique. Common issues such as insufficient accuracy, poor tone, counterproductive tension, or lack of speed may all be countered with patience and knowledge – working towards a more efficient and relaxed movement.
In order to fix any of the above issues, it is important to determine what technical barrier is between you and your goal. Most of these problems will be easy to fix with close attention to detail of the right hand joint movements (knuckle and middle joints), and relaxation.
Positioning the Thumb
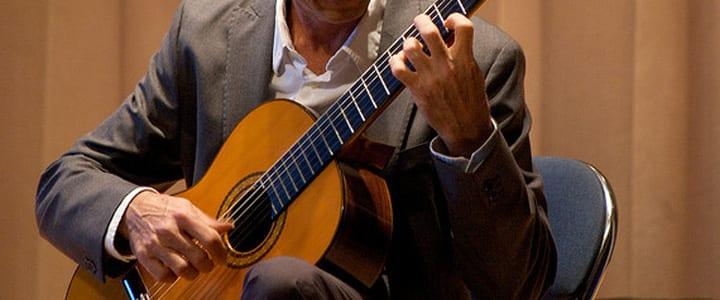
For developing thumb (P) technique, it is essential that the guitarist moves from the wrist joint, or joint closest to your wrist. In doing this, you are able to get much more power and volume. The thumb should then follow through to around the middle joint of your index (I) finger.
Many guitarists will make the thumb movement with only the tip joint of the thumb. By using the wrist joint, you are now able to create a much louder, fuller sound and increase speed with continuous motion. The string should come in contact with the spot directly between the flesh of your thumb and the nail to create the best sound.
Positioning the Fingers
The right hand fingers (IMA) should be practiced so that the tip of each respective finger follows through to the palm of your hand. Make sure that your wrist is aligned parallel with your forearm (with a slight, comfortable arch).
Start by preparing I (index), M (middle), and A (ring) on the 3rd, 2nd, and 1st string of the guitar. Start with the I finger, making sure to leave the M and A fingers prepared on the 2nd and 1st strings. The I finger should meet the string, just as the thumb does, simultaneously touching the nail and flesh. Make sure that the I finger is following through to the palm and the sound is not being created by the outwards pulling of the string away from the guitar. Your wrist should not move, as the joints of the fingers are creating the motion.
Repeat the same process for the M and A fingers (with M, I and A should be prepared/when playing A, I and M are prepared. Just as with P and I, the M and A fingers should meet the string right between the nail and flesh. It is good to practice with proper follow through to develop the correct movement, but when playing a piece, especially at higher speeds, the finger will not make contact with the palm. The aim is an efficient, accurate, and relaxed motion.
Remember to practice slowly – developing the correct motion is more important than speed when you’re learning classical guitar, at least at first! Hold out one chord with your left hand and practice playing a P-I-M-A pattern with your right hand. When this becomes easy, try playing P-I-M-A-M-I as a pattern.
For an example of what it looks and sounds like when you’ve mastered this right hand technique, check out Thomas’ video below:
http://instagram.com/p/vHDxq9lsh4/?modal=true
 Thomas C. teaches guitar, classical guitar, music theory, and audition prep in Baltimore, MD. He is studying classical guitar performance at the Peabody Institute of the John Hopkins University, and he also plays guitar in the band Wait For It. Thomas has been teaching for 4 years. Learn more about Thomas here!

Photo by Jason Bachman

Suzy S.