

When you’re learning drums it’s important to develop different aspects of your style to be a better overall musician. Here, drum teacher Tracy D. breaks down the snare drum basics, to help you develop your technique…
The snare drum is one of the main voices of the drum set. Developing your snare drum skills will help you be a better all-around-drummer. Let’s go over anatomy, grip, and snare drum basics, and try some exercises to help you develop dexterity and dynamic control.
Anatomy
- Shell: The shells can vary in size, and are usually made from wood or metal.
- Heads: The top (batter) head is coated, and the bottom (snare side) head is thin and responsive, the snares interact with the heads.
- Snares: Snares are usually made of metal, and they give the drum its characteristic snap when they’re engaged (throwoff/lever in the up position). Disengaging them (throwoff/lever in down position), gives the drum a tom or timbale sound.
- Rims: The rims are the hoops on the top and bottom of the drum. They’re usually made of metal, and they secure the heads and facilitate tuning. They may be played by laying the stick across the head, and using the butt of the stick to click on the rim. You can also use the rim in conjunction with the head (the middle of stick strikes the rim—the bead of the stick strikes the head).
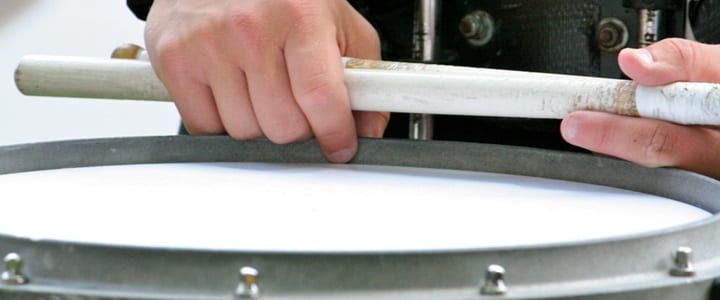
Grip
Matched Grip
Hold the sticks the same way with both hands (palms down) with approximately two inches of the butt protruding from the crease of the palm (under the wrist). The fulcrum (pivot point), should lie somewhere between your index finger, middle finger, and thumb. It’s important to have a loose grip for clarity of tone, and to prevent injury.
Traditional Grip
With this grip, your right hand stays the same as in matched grip, but you will turn your left hand so that your palm faces inward. The stick should be between your middle finger and your ring finger, resting on the cuticle of the ring finger, and the fleshy part should be between the thumb and index finger (the fulcrum for this grip). Your fingers lend support and aid in control, and your left arm will rotate from palm-up to palm-in to execute strokes.
Want to learn more about the different grips? Check out this article.
Snare Drum Exercises
Form a “V” with the sticks and keep the beads (tips) close together. Use your fingers to play quickly or quietly, your wrists to play at a medium volume, and your arms to play at maximum volume.
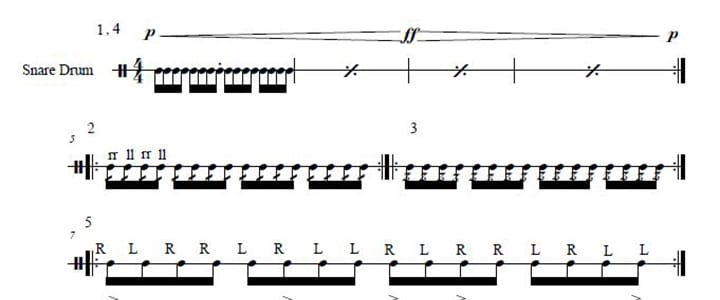
Exercise 1
Use the playing surface to aid in dynamic change. Use alternating sticking (RLRL). Begin near the rim (one inch stick height). As you crescendo, move toward the center of the drum to reach ff (12-inch height), then move back toward the rim as you decrescendo.
Exercise 2
Double stroke (metered) roll, played RRLL.
Exercise 3
This is a buzz/multiple-bounce roll; press the beads into the head slightly, in rapid succession.
Exercise 4
This is like the first exercise, but begin with the buzz roll, move to the metered roll at a louder volume, and then return to the buzz roll.
Exercise 5
This exercise is a paradiddle (RLRR-LRLL) that uses accents (>) for texture. Keep the unaccented notes at a two-inch height and the accents at six inches.
Now that you’ve been introduced to some snare drum basics, it’s up to you to practice! Combined with, practice, drum lessons, and dedication, these exercises will help you become a better all-around drummer.
Want to take your drumming to the next level? Find a private drum teacher, and get started today!

Tracy D. teaches percussion and drum lesson in Edmond, OK, as well as online. She has been playing the drums in various bands for more than 13 years, and has also played intermittently with the OKC Community Orchestra for the past five years. Learn more about Tracy here!

Photo by Ben Smith

Maile Proctor