

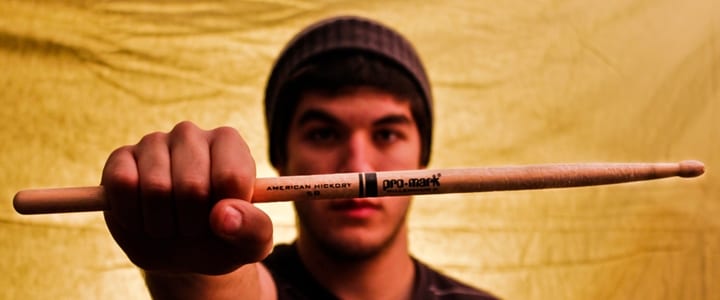
Beginning drummers often have questions about how to hold drum sticks. Traditional grip or matched grip, which one is better? Here, Edmond, OK drum instructor Tracy D. explains the mechanics of each drum grip so you can decide which one is right for you…
There are essentially two different ways to hold drum sticks: traditional grip and matched grip. Both techniques are expressive and fun to use. If you’re wondering how to hold drum sticks, first you should get a better understanding of the difference between the two. Lets look at the mechanics behind traditional grip and matched grip.
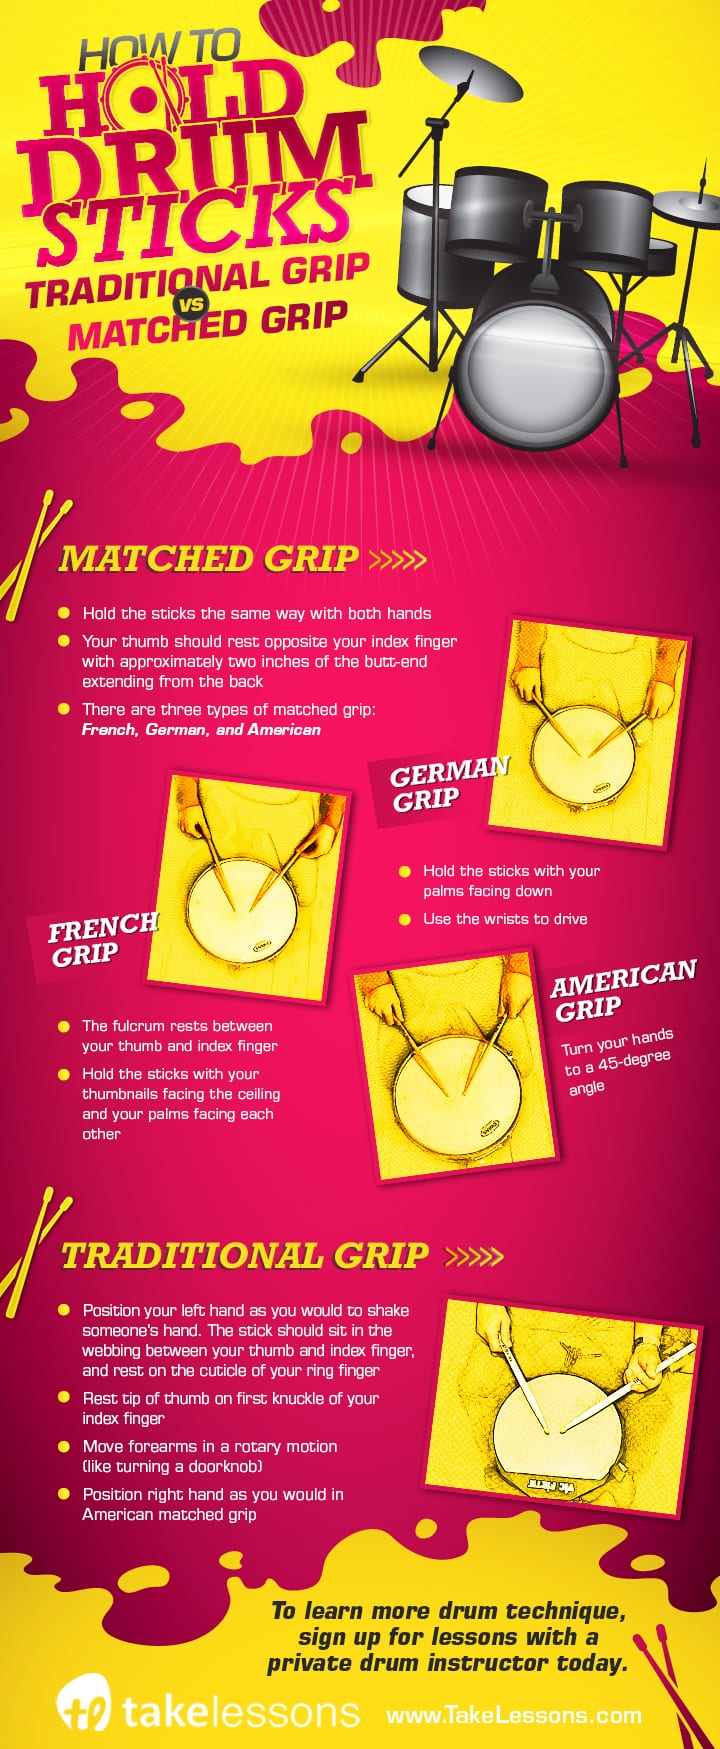
Matched Grip
With matched grip, both of your hands hold the sticks the same way. This type of grip has three variations: German, American, and French.
For these grips, your thumb should rest opposite of your index finger on the stick, with approximately two inches of the butt-end extending from the back. This pinching between your thumb and index finger is called a “fulcrum.”
French Grip
The fulcrum rests between your thumb and index finger with the French grip. The fulcrum can (if desired) shift a bit more toward your thumb and middle finger with the German and American grips.
Hold the sticks with your thumbnails facing the ceiling and your palms facing each other. This position allows for maximum finger control, and it’s favored by timpanists for this reason.
German Grip
Hold the sticks with your palms facing down and use the wrists to drive. This position lends power and volume.
American Grip
Turn your hands to a 45-degree angle. This allows you to use both wrists for power and your fingers for control and nuance.
Traditional Grip
This grip was popularized by members of the military battery, who carried their drums slung to the side (hence the name, “side drum”). The angle of the drum made it necessary to turn the left forearm under, so that the stick would comfortably clear the rim. Traditional grip is often used for jazz and drum lines.
Position your left hand as if you’re extending it to shake someone’s hand. The stick should sit in the webbing between your thumb and index finger, and rest on the cuticle of the ring finger. Approximately 2/3 of the stick should face the front.
Rest the tip of your thumb lightly on the first knuckle of your index finger and put your middle finger on top of the stick, slightly in front of the index finger.
The fulcrum (pivot point) will be between your thumb and index finger. Relax your fingers and use them for support, nuance, and control.
Move your forearm in a rotary motion, which is similar to turning a doorknob. Position your right hand the same way you do for the American matched grip.
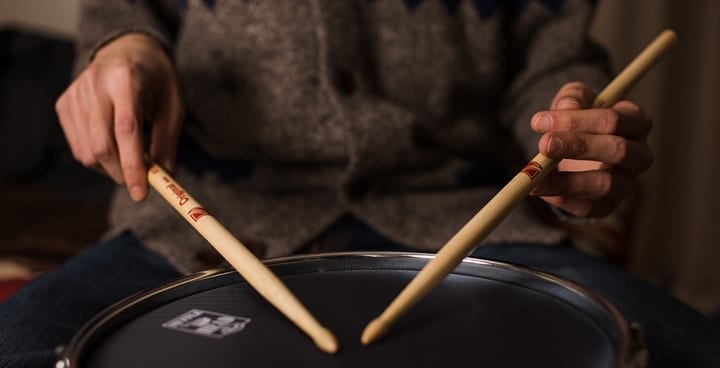
It’s important to relax and allow the sticks to float in your hands. Gripping the sticks too hard can lead to fatigue and possible injury, and it will limit the sticks’ mobility. A relaxed grip will also coax a better tone from the drums.
Some like to debate the virtues of their preferred grips, but I don’t think you necessarily have to choose. They each have a different feel, expression, and attitude. For example, matched grip lends itself well to rock, but if the groove is funky, a bit of traditional conveys that feel and attitude quite nicely.
Now you know how to hold drum sticks. Learning both grips will make your playing more versatile and interesting, so I say — give both a try!
Learn more about drum stick grip and drum technique, search here for a private drum instructor near you.
Share this Image On Your Site
 Post Author: Tracy D.
Tracy D. teaches percussion and drum lessons in Edmond, OK, as well as online. She has been playing the drums with various bands for more than 13 years. Tracy earned her Bachelor’s in Music Education from Oklahoma Christian University and has played with the OKC Community Orchestra since 2009. Learn more about Tracy here!
Photos by Alec Connors, QWEbie


Maile Proctor